
Last updated November 22, 2026
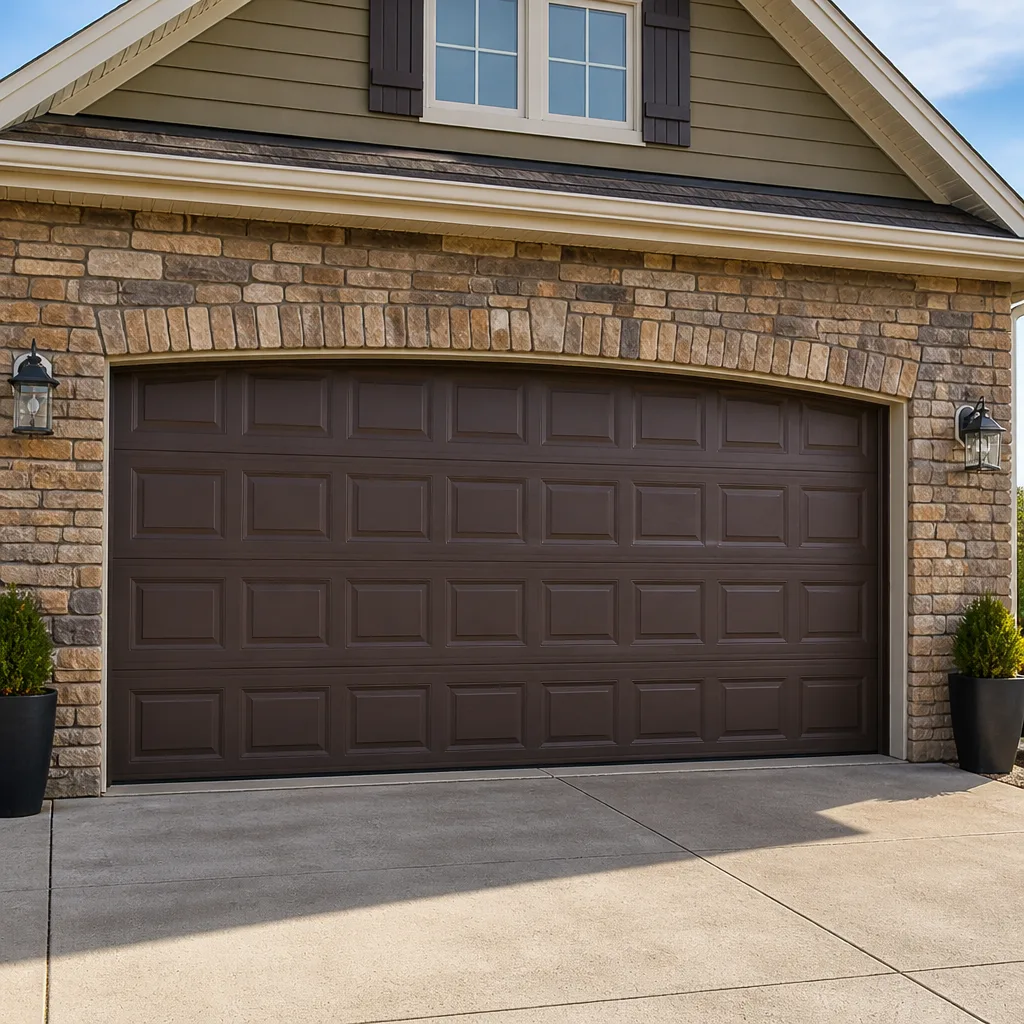 Raised-panel steel
 Carriage house
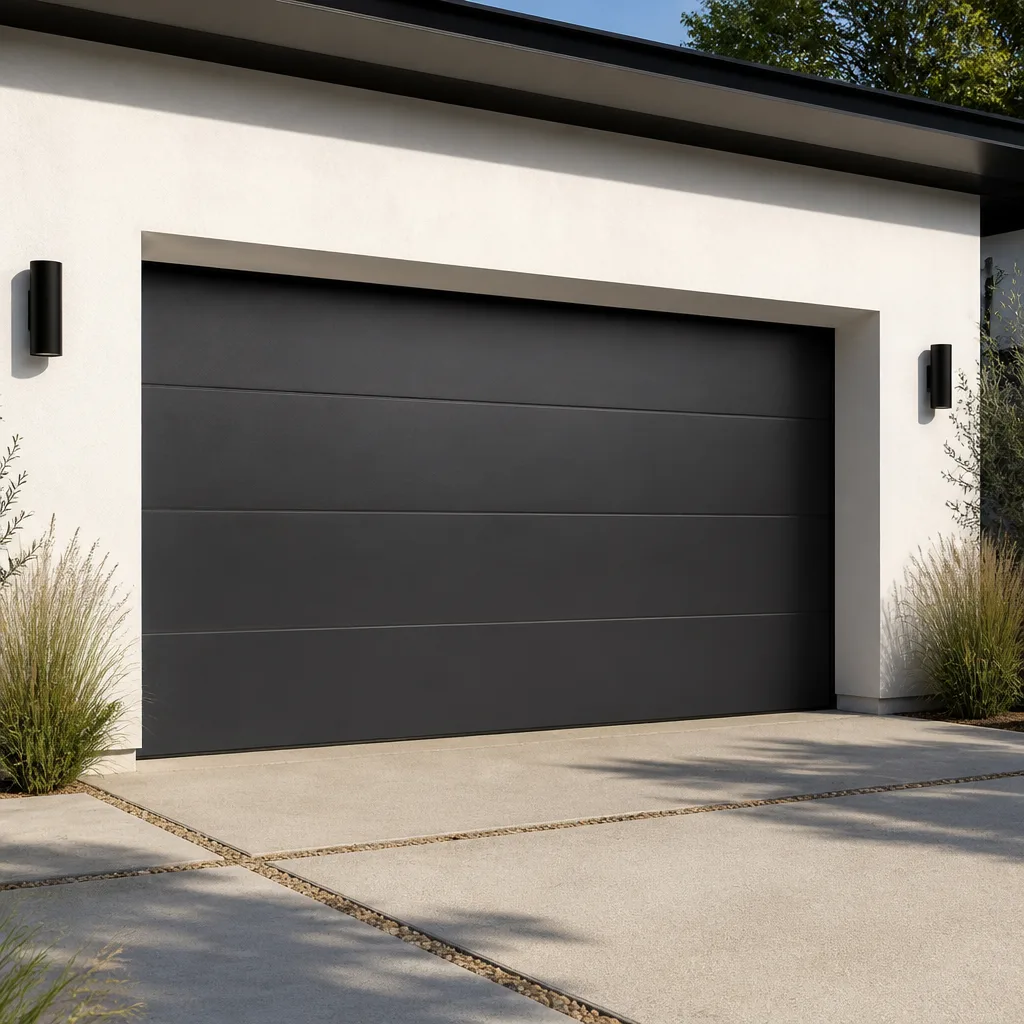 Modern flush
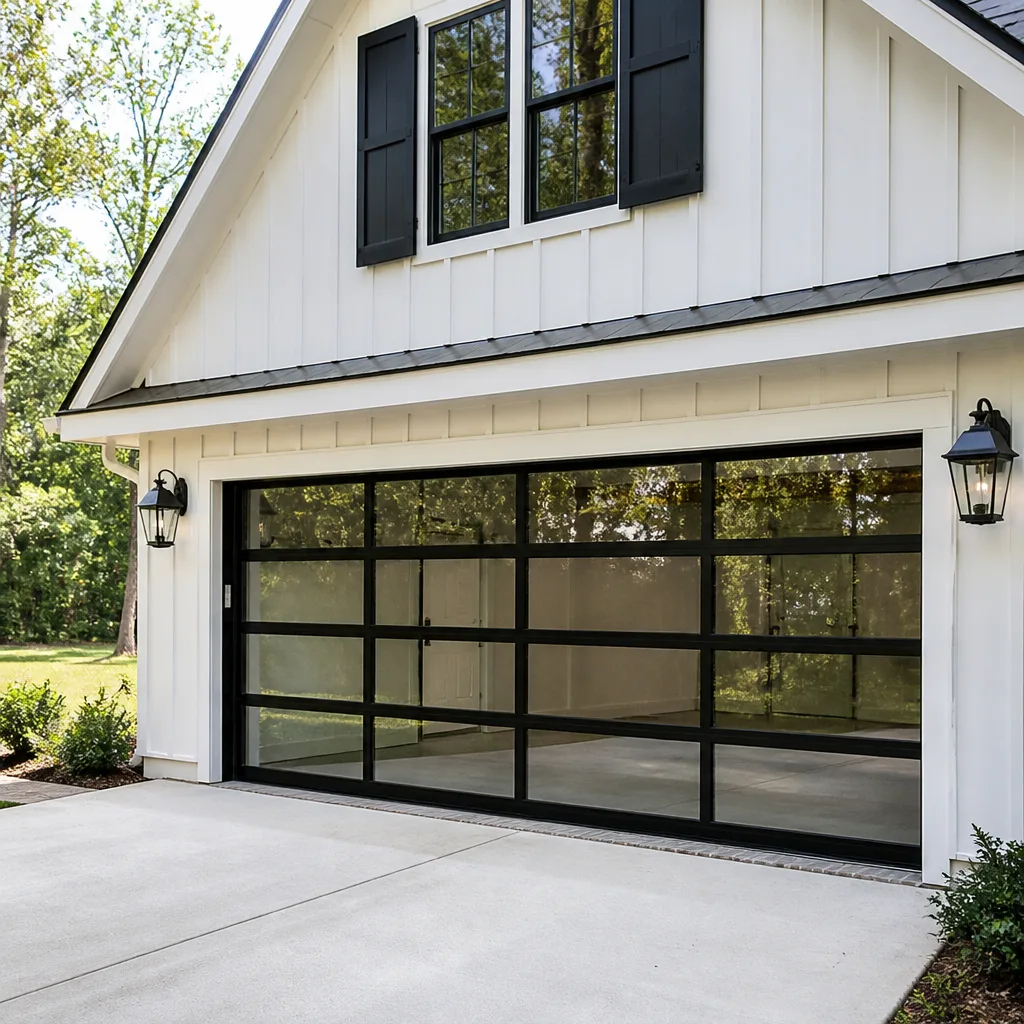 Full-view glass
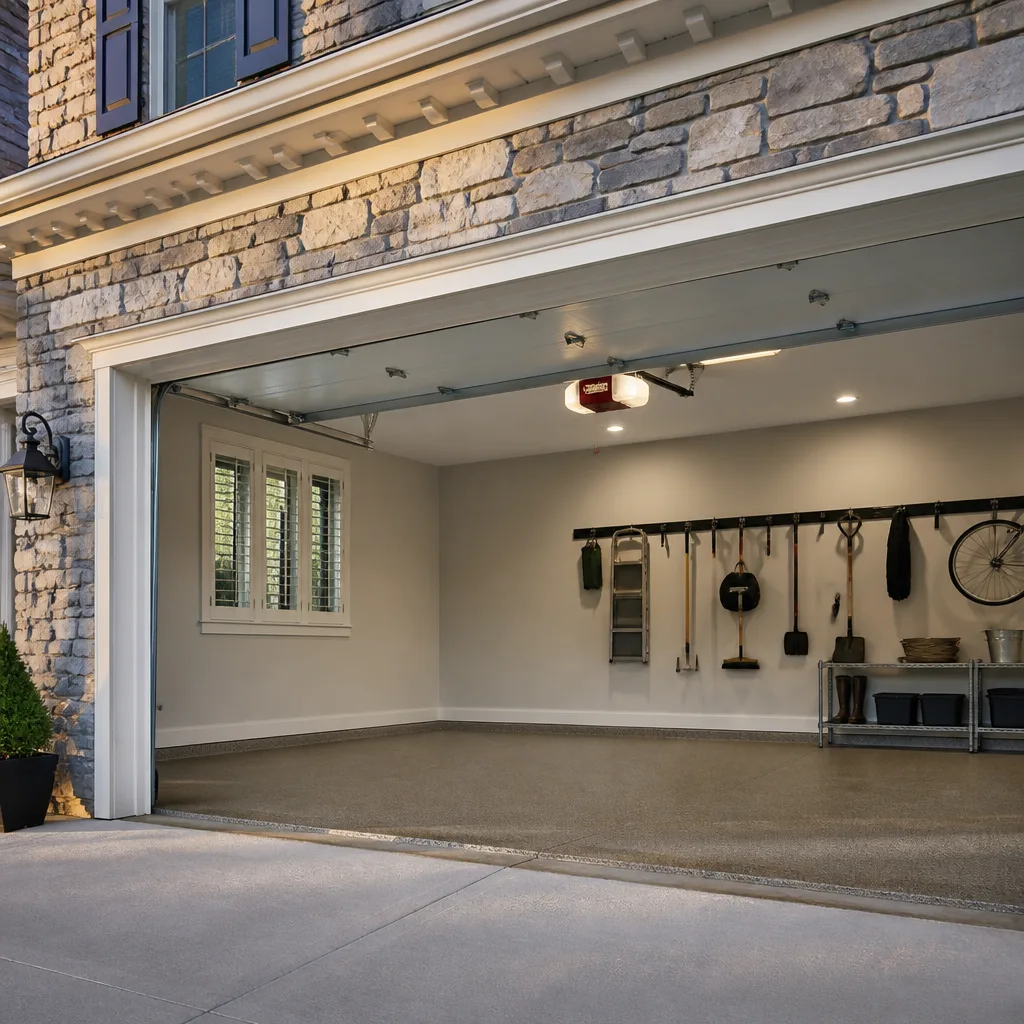 LiftMaster openers
 Chamberlain openers
Full 25-point door and opener safety check with every visit - springs, cables, rollers, tracks, and your LiftMaster or Chamberlain opener included
You get a price before we start. It does not change when the pro arrives.
Get your free estimateGarage Door Repair Maintenance Checklist for Edison Homeowners
Lubricating the wrong part of your garage door system can wear it out faster than skipping maintenance entirely. That’s the part most published checklists leave out. Spray the torsion spring with a heavy lubricant and you’ll collect grit in the coils; hit the plastic rollers with the wrong product and you’ll attract dust that grinds them down. A good checklist isn’t a longer list – it’s a list that separates what you can safely do from what should send you reaching for a technician. This guide gives Edison homeowners both: the tasks worth doing yourself, the tolerances a technician actually checks, and the warning signs that mean stop using the door now. We work on garage doors across Edison every week, and these are the items that matter most.
Quick Answer
A garage door maintenance checklist for Edison homeowners should cover lubrication of the correct parts only (hinges, rollers bearings, tracks), a balance test with a 3-inch drift tolerance, a visual cable inspection for kinking or rust, and a safety-reverse test on the opener. Homeowners should handle lubrication, cleaning, and visual checks; springs, cables, and opener adjustments belong to a trained technician because the tension in those parts is enough to cause serious injury. Do the light-touch items twice a year, timed to Edison’s spring thaw and late-fall freeze windows.
Styles & brands we work with
- Raised-panel steel
- Carriage house
- Modern flush
- Full-view glass
- LiftMaster openers
- Chamberlain openers
Table of Contents
- The Lubrication Map: What Gets Grease, What Gets Silicone, What Gets Nothing
- The Balance Test: Reading a 3-Inch Drift Correctly
- The Cable Inspection Sequence: Kinking, Rust Bloom, and Strand Separation
- Testing the Safety Reverse and Photo Eye
- Seasonal Timing for Edison: Spring Thaw and Late-Fall Freeze
- Checklist Items That Can Void a Manufacturer Warranty
- Opener Maintenance: What’s Safe and What Isn’t
- What a Professional Service Visit Actually Covers
The Lubrication Map: What Gets Grease, What Gets Silicone, What Gets Nothing
Not every moving part on a garage door wants oil. Some parts need a specific product, and a few should stay dry. Get this wrong and you’ll accelerate wear instead of preventing it. Here’s the map we use in our own work across Edison.
Gets white lithium grease:
- Hinge pivot points – a small dab at each joint
- Roller bearings (the metal shaft inside the roller, not the roller surface)
- Opener rail and trolley where the metal slides against metal
Gets silicone spray:
- Track channels where the rollers ride – a light coat, then wipe the excess
- Weather seal along the bottom of the door – helps it release from ice without tearing
Gets nothing:
- Torsion spring – the coils sit under tension and collect grit from any lubricant added. Leave it dry.
- Nylon or plastic rollers – lubrication attracts dust that grinds into the plastic. Wipe clean with a dry cloth only.
- Photo eye lenses – a dry microfiber cloth only; any spray leaves a film that blocks the beam.
- Remote control and wall button contacts – not a lubrication issue at all.
A common mistake is spraying the full track with WD-40, which thins over time and grabs dust. If you’re going to lubricate a track, use a silicone-based product and wipe the excess off with a clean rag. A track that’s sticky or noisy after lubrication is a sign the wrong product went on it. When the chatter is coming from inside the door rather than the track, that’s a good moment to bring in someone for garage door repair rather than to add more oil.
The Balance Test: Reading a 3-Inch Drift Correctly
The balance test tells you whether your springs are carrying the door’s weight evenly. A door that passes the test moves freely by hand. A door that fails it is asking the opener motor to do work the springs should be doing – and that motor will fail sooner because of it.
- Disconnect the opener. Pull the red release handle on the trolley so the door is only moving on its springs and tracks.
- Raise the door to waist height. Push it up by hand, keeping fingers clear of the joints.
- Let it rest. Do not hold it. Let the door hang on its own.
- Watch what it does. If it stays put, the balance is correct. If it drifts down more than about 3 inches before settling, the springs are losing tension.
- Repeat at half-open and about a foot off the floor. A door that’s fine at waist height but drifts at a foot up has a spring problem that a single test won’t catch.
A 3-inch drift downward at any of those heights is a real signal. Springs relax with use. A slightly sagging door gets heavier on the opener, and the motor shortens its life holding up a door that won’t stay where it’s put. That small amount of drift is also a sign to stop adjusting the opener’s travel limits as a workaround – that just hides the spring problem and puts stress on the motor. If the drift appears at more than one height, a garage door spring repair visit is worth scheduling before the motor starts to complain. A door that slams down fast or creeps up on its own is not a borderline case – stop using it and call.
One more thing: never perform the balance test with children or pets on the far side of the door. Even a working door with a failing opener can behave unpredictably, and the whole point of the test is to find out if the door is behaving badly.
The Cable Inspection Sequence: Kinking, Rust Bloom, and Strand Separation
The cables lift the door and carry the same tension as the springs. When they start to fail, they show signs before they break. Look for them in this order so you don’t miss a developing problem.
- Check for kinks. Run your eyes down the full length of each cable. A cable that kinks or bends sharply is a cable that’s about to fail. A kink concentrates stress in one spot, and the steel will separate there.
- Look for rust bloom. A fine orange-brown patch on the cable means moisture has gotten into the strands and started to corrode from the inside. The strand you see is fine; the ones wrapped beneath it may not be.
- Watch for strand separation. Look at the ends and any spot with a kink. If individual wire strands are visibly separating from the bundle, the cable has lost strength. Any separation is a stop-use signal.
- Check the drum and bottom bracket. Look where the cable wraps around the drum at the top and where it attaches at the bottom corner. Rust, fraying, or a loose attachment at either end is a problem even if the cable between them looks fine.
- Confirm the door is shut. Never inspect cables with the door up. The tension at the bottom bracket when the door is up can act on a loose cable with no warning.
Any one of these signs means the door should not be operated until a technician has seen it. This is not a repair to attempt on your own. A snapped cable under spring tension can whip into the space around the door with enough force to break a bone. Cables are also the most common warranty complaint on cheaply installed doors, because a cable that rubs the drum or a bracket will wear through faster than it should. If you spot any of these signs, don’t cycle the door open and shut hoping it will hold; call for help.
Testing the Safety Reverse and Photo Eye
The safety reverse system stops the door if something is in the way. It does that in two ways: the photo eye at the bottom of the track detects an object in the doorway, and the opener’s force limit reverses the door if it meets resistance. Test both – they’re separate systems.
Photo eye test:
- Open the door and press the button to close it.
- Wave a long board or broom handle across the path of the photo eye at the bottom of the track, about 6 inches off the floor.
- The door should reverse back up immediately.
Force reverse test (mechanical):
- Place a piece of 2×4 on the floor in the center of the door’s travel path.
- Close the door. When it meets the board, it should reverse on its own.
- Any hesitation before reversing is a problem. A door that pushes against the board and keeps pressing is a hazard.
Both tests should pass on every cycle. If the door reverses slowly, doesn’t reverse at all, or reverses inconsistently, that’s an opener problem. Much of the safety reverse function lives in the opener board or the photo eye sensor, and the fix belongs with a technician doing garage door opener repair rather than a homeowner adjusting the force limits up to stop the beeping. Raising the force limit makes the opener push harder before reversing, which is the opposite of safety. Photo eye lenses should be wiped with a dry cloth every few months; a small amount of dust or a cobweb across the lens is the most common cause of a door that refuses to close.
Seasonal Timing for Edison: Spring Thaw and Late-Fall Freeze
Edison’s swings between freezing winters and warm, humid summers work on the door in two specific ways, and the checklist should be timed to match. Doors here see freeze-thaw cycling at the bottom seal every winter, and humidity in summer works on the metal parts and the wood if any part of the frame is wood.
Two windows matter:
- After the spring thaw (late March into April). The freeze-thaw cycles of winter stress the bottom seal, the hinges, and the track. That’s the time to clean the track, check the seal for tears or rock-hard spots, inspect the cables for rust bloom, and re-lubricate the moving parts. A door that opens stiffly for the first time since November is telling you the seal is degraded or the track has shifted slightly from frost heave.
- Before the late-fall freeze (late October into November). Lubricate the hinges and rollers, wipe the track, and treat the bottom seal with silicone spray so it releases from ice instead of tearing. Check that the opener’s battery backup (on models that have one) is charged, and inspect the weather seal at the sides. A door that won’t release from ice on a cold morning can burn up the opener’s motor or strip the travel gears before you realize why it wasn’t closing.
Two inspections a year covers both windows. If you’re doing a bigger project like a new door or opener, the timing works well too – spring and fall are good moments to plan a replacement without a rush. That’s when we typically recommend scheduling a free measure so a new door can be sized, ordered, and installed without a pressure window. A door that’s sagging after the thaw or dragging on the frame in November is worth looking at before further use.
Checklist Items That Can Void a Manufacturer Warranty
Most garage door manufacturer warranties cover defects, not homeowner adjustments or improper parts. A few checklist items – if done wrong – can put the warranty at risk. The brands don’t all word the terms the same way, but the common threads hold across Clopay, Amarr, Chamberlain, and Genie systems.
- Adjusting the spring system yourself. Most warranties on springs and cables exclude any work done by the homeowner or by a non-qualified person. If you adjust the spring or cut the cable and something fails afterward, the claim is very likely to be denied.
- Adding non-approved lubricants to the torsion spring. Adding any lubricant to a spring that the manufacturer expects to stay dry can void the spring warranty on some doors. Springs are wet-wound or dry-wound depending on the manufacturer, and some dry-wound springs degrade faster when lubricated.
- Replacing a roller, hinge, or cable with a non-approved part. A non-approved part that fails can also take out a part that was still under warranty, and the claim on that second part can be denied.
- Painting or refinishing. On Clopay and Amarr doors, painting or any surface modification may void the finish warranty if the wrong product is used, and in some cases any finish change voids the finish portion of the warranty entirely.
- Tightening the track with the wrong tool or the wrong bracket. Track brackets are set to a specific tension and alignment. Homeowner adjustments that bend the track or strip the mounting hardware can be excluded from the warranty.
If you’re still under a warranty, keep the installation paperwork on file. When in doubt, ask the technician – the manufacturer’s own rule is usually written in the door’s documentation. A quick call to Edison Garage Door Repair Co to walk through a checklist item before you touch it is cheaper than a warranty claim that gets denied six months later.
Opener Maintenance: What’s Safe and What Isn’t
Most homeowner-safe opener maintenance is limited to keeping the unit clean and testing it. Everything else – force limits, travel limits, gear replacement, board issues, logic board swaps – belongs to a trained technician. Here’s the split.
Safe for a homeowner:
- Wipe the opener housing and the eye lenses with a dry cloth
- Test the photo eye and the force reverse monthly
- Keep the opener’s vents clear of dust and cobwebs
- Test the remote and wall button to confirm the door responds every time
- Check that the manual release cord is visible and accessible
Leave to a technician:
- Adjusting the force limit or the travel limit – both affect the door’s stopping behavior
- Replacing the drive gear, the trolley, or the logic board
- Aligning the opener rail after the door has shifted
- Wiring any addition to the opener’s low-voltage side
- Any issue where the opener runs but the door doesn’t move – that usually means a stripped gear or a disconnected trolley
Opener issues often get blamed on the door, and the door gets blamed on the opener. When the door won’t move but the motor hums, the chain is slipping; when the door moves but the motor is silent, the release trolley is disconnected. Either way, the right fix is a diagnostic rather than a guess, and it’s the type of thing we sort out from the opener brand already in your garage – Chamberlain and Genie systems are the most common in Edison, and both have specific travel-limit issues that show up with age. A technician can usually tell which one it is within a few minutes of the visit.
What a Professional Service Visit Actually Covers
A professional service visit is not the same as a homeowner checklist. A technician goes after the parts a homeowner shouldn’t touch, checks the tolerances on parts that can only be measured with the right tools, and confirms the door is in a state that’s safe to operate. Here’s what that looks like in practice.
- Full balance and spring check. A technician measures the door’s balance at multiple heights, checks the spring wind count or converts to a wire gauge, and confirms the spring tension matches the door’s weight.
- Cable and drum inspection under controlled tension. A technician checks cables and drums with the door in a supported position, not hand-held. Rust bloom, kinks, and strand separation get looked at up close.
- Track alignment and roller check. Track alignment is measured against the door’s edge; rollers are checked for flat spots and proper seating. Roller wear is a common source of noise and vibration that gets misdiagnosed as a spring problem.
- Hinge and bearing lubrication with the correct product. A technician uses the right lubricant for each joint – lithium for metal, silicone for the seal, nothing for the spring.
- Opener inspection and safety test. Force limit, travel limit, photo eye alignment, and safety reverse are checked. Any opener board issues are noted before they turn into a no-start.
- Weather seal and bottom seal check. Both seals are checked for wear and, if needed, replaced before the next freeze.
A visit like that typically runs about an hour. If the door hasn’t been serviced in a while, a technician may recommend a spring replacement, roller swap, or new cables – none of which you want to do yourself. Every estimate is written and agreed before any work starts, and if the technician finds something unexpected, you get a revised quote to approve, not a surprise invoice. A visit like that is also where brand experience comes in handy. When the door is a Clopay or an Amarr, the technician knows what to look for in that design; when the opener is a Chamberlain, they know the common faults. The right part, the right fix, the first visit – that’s what a good service visit is for.
Common Mistakes to Avoid
- Lubricating the torsion spring. The spring isn’t designed to be lubricated. Adding oil or grease collects grit in the coils, which accelerates wear. Leave it dry and let a technician check the spring tension instead.
- Spraying WD-40 on the tracks. WD-40 is a penetrating oil, not a lubricant for tracks; it thins over time and attracts dust. Silicone spray is the correct product for the track channels, applied light and wiped clean.
- Forcing the door open when it’s stuck. If the door won’t move, don’t pull it. A door stuck on a broken spring or a snapped cable can drop unpredictably when forced; leave it alone and call.
- Assuming the door is fine because the opener is working. The opener can lift a door whose spring is failing for a while – until the motor burns out. The balance test catches the problem before the opener does.
- Ignoring a beeping opener. The beep is a warning that the safety reverse or the photo eye needs attention, not a reason to unplug the opener. Unplugging it leaves the door without a working safety system.
- Skipping the fall check before the first freeze. A door that hasn’t had its bottom seal checked in November can tear the seal on the first cold morning and won’t close correctly until spring. A few minutes of prep in October prevents that.
- Trying to adjust the spring or cable yourself. A torsion spring or cable under tension is strong enough to cause serious injury with no warning. This is the one part of the checklist that should never be a homeowner task, no matter how many videos show it being done.
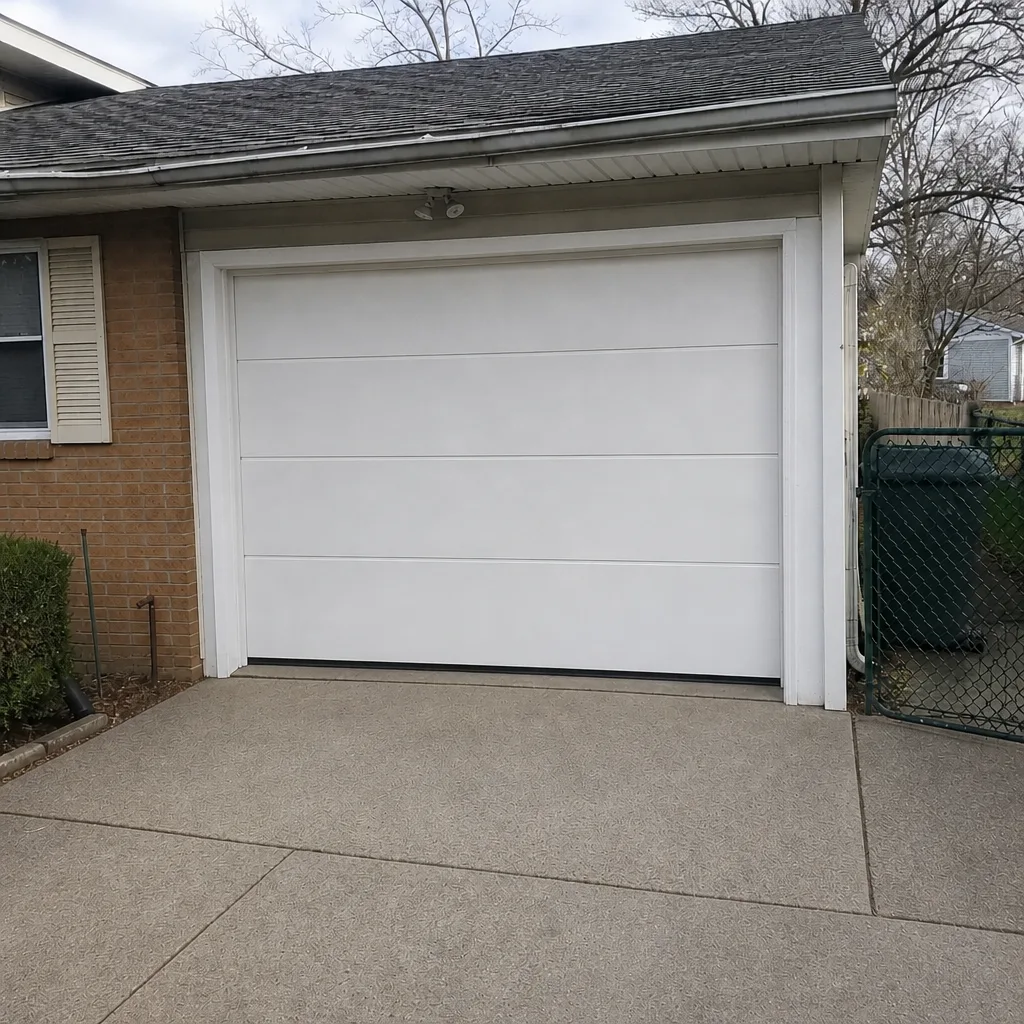
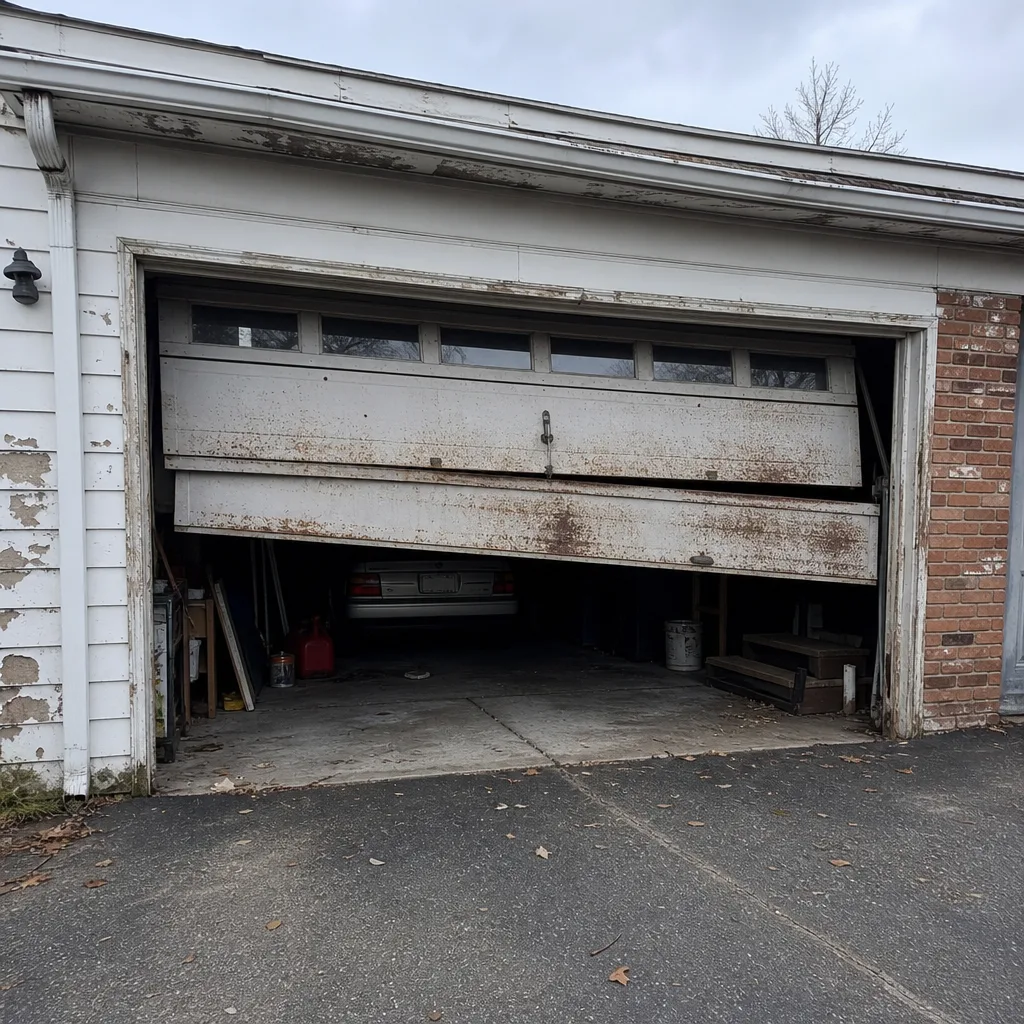
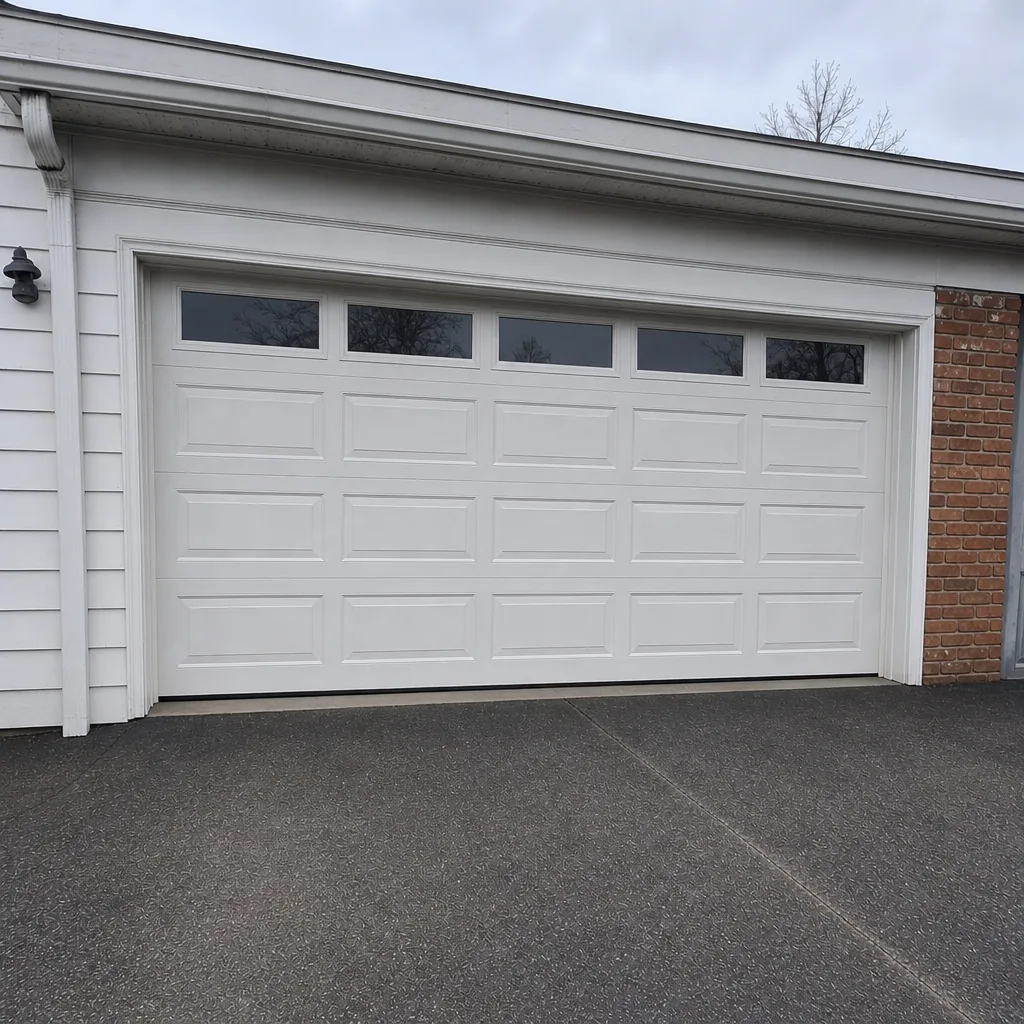
See the difference
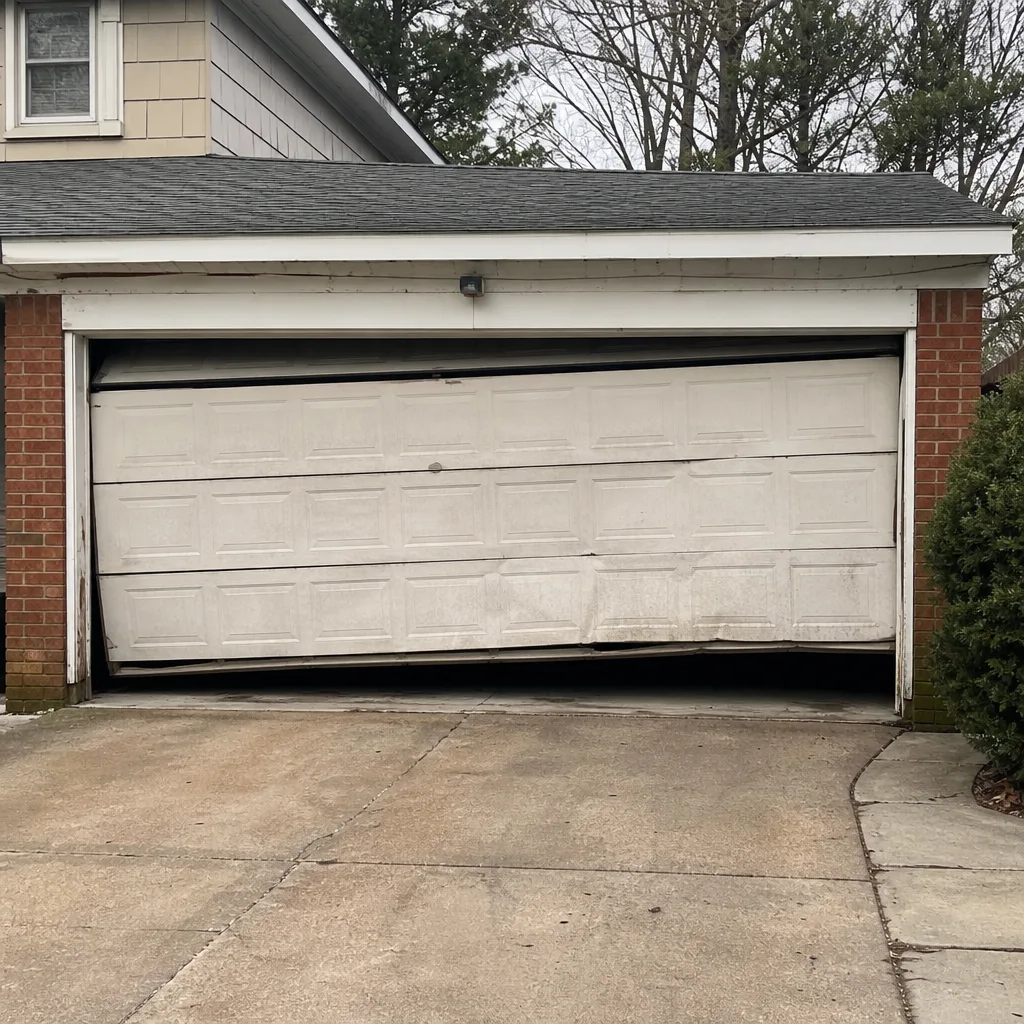 Before
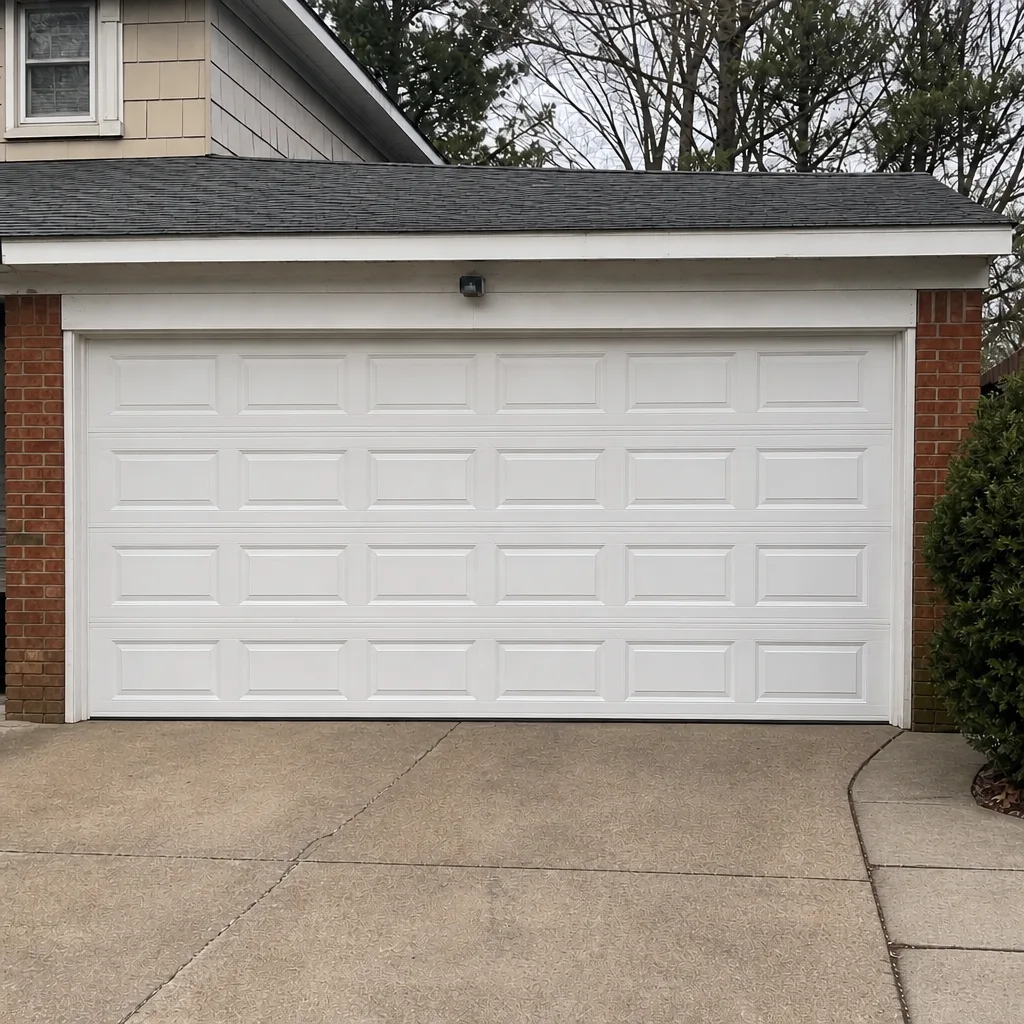 After
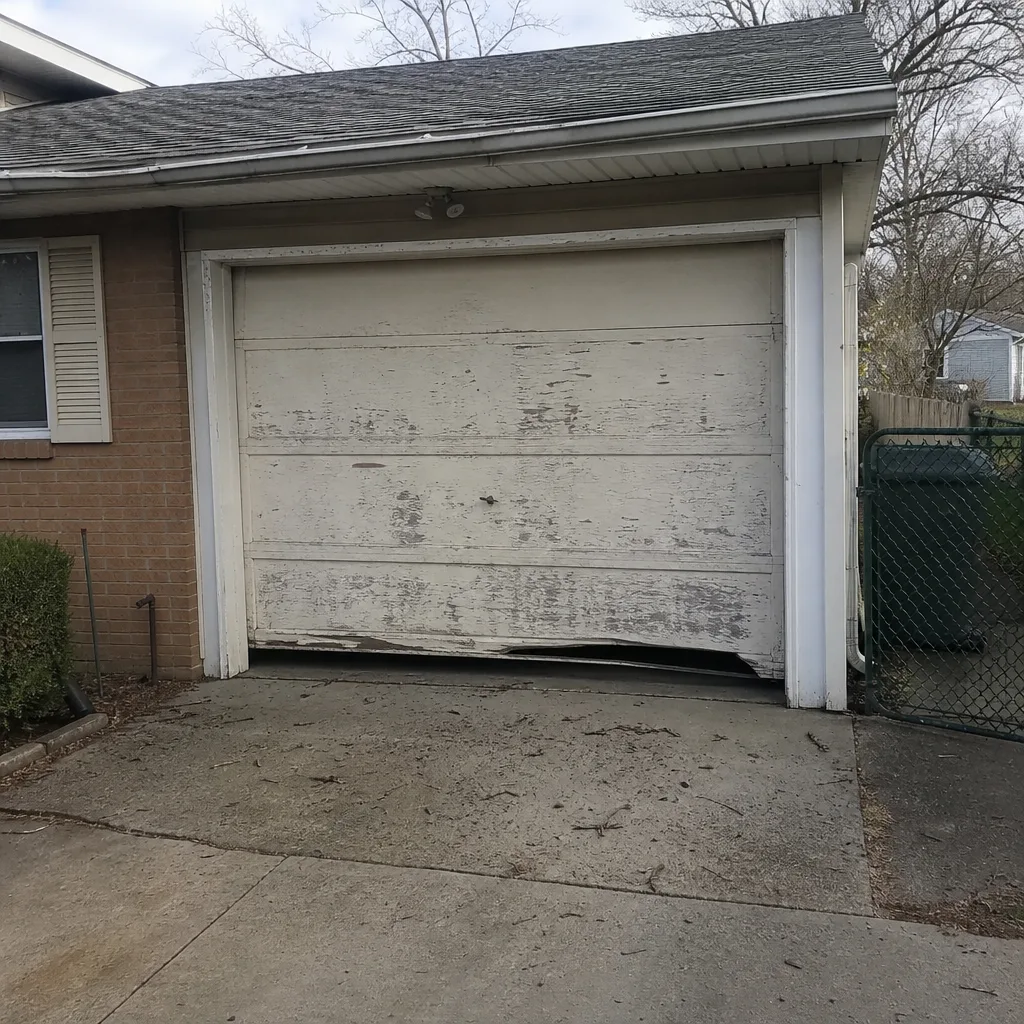 Before
 After
 Before
 After
When to Call a Professional
Some garage door issues are fine to watch for and handle at home. Others need a trained technician right away. Call Edison Garage Door Repair Co at (855) 658-5248 if you see any of the following: the door won’t open or close at all; a cable is visibly kinked, fraying, or has separated strands; you hear a loud bang from the garage and the door won’t lift; the opener runs but the door doesn’t move; the springs have visible rust or are sagging; or the door has come off its track. These aren’t situations to troubleshoot yourself. The spring and cable systems carry enough tension to cause serious injury, and a stuck door can drop without warning. Edison Garage Door Repair Co offers free estimates in Edison – call (855) 658-5248. We answer 24/7. Fast dispatch from 7am to 7pm, Sunday through Friday.
Frequently Asked Questions
Twice a year is the standard for most homes in Edison, timed to the spring thaw and the late-fall freeze. Doors that see heavy use (more than four cycles per day) or that have had a recent repair may need an inspection every few months. A quick homeowner check of the balance test, cable condition, and safety reverse can be done monthly between professional visits.
Yes, but only the right parts with the right products. Lithium grease on the hinges and roller bearings, silicone spray on the track channels and bottom seal, and nothing on the torsion spring or the nylon rollers. If you’re unsure which product belongs where, ask a technician before you spray – the wrong lubricant is worse than no lubricant on some parts. Call (855) 658-5248 for an exact quote on a professional service visit – estimates are free.
A 3-inch downward drift when the door is released at waist height means the springs are losing tension, and the opener is carrying more of the door’s weight than it should. That shortens the motor’s life and puts extra stress on the cables. A drift of more than about 3 inches is a sign to schedule a spring inspection.
The torsion spring is designed to stay dry. Lubricant collects grit between the coils, and that grit grinds into the steel as the spring flexes, which accelerates wear. On some doors, lubricating the spring can also void the spring’s warranty. Leave it dry and let a technician check the spring tension during a service visit.
Look for kinks in the cable, a fine orange rust bloom along the strands, or individual strands visibly separating from the cable bundle. Any one of those means stop using the door. The cable is under tension even when the door is down, so this isn’t a repair to attempt at home. Call (855) 658-5248 and we’ll come take a look.
Regular maintenance itself won’t void a warranty, but some homeowner tasks can. Adjusting the springs yourself, replacing a part with a non-approved substitute, or painting a Clopay or Amarr door with the wrong product can void specific warranty coverage. Keep the installation paperwork and ask a technician before making any change beyond cleaning and testing.
The Bottom Line
A garage door maintenance checklist is only useful if it respects the line between what’s safe for a homeowner and what isn’t. Lubrication, cleaning, balance testing, cable inspection, and safety reverse checks are all good homeowner tasks – done with the right products at the right times of year. Springs, cables, opener adjustments, and anything else under tension belong to a trained technician. Timed to Edison’s spring thaw and late-fall freeze windows, a twice-a-year routine catches most problems before they turn into a no-start, and it keeps the door’s manufacturer warranty happy. When a checklist item is out of your depth, that’s the moment to call.
If you’re in Edison and want the job done right the first time, call Edison Garage Door Repair Co at (855) 658-5248 for a free estimate. Our technicians have up to 9 years of experience, and we’re comfortable with the brands already in most Edison garages – including LiftMaster, Chamberlain, Genie, Clopay, Amarr, Wayne Dalton, Craftsman, and Raynor. Whether the door needs a seasonal tune-up, a spring repair, or a full replacement, we’ll send a written estimate before any work starts. Contact us today to get your door back in shape.
Written by the team at Edison Garage Door Repair Co.