
Last updated November 22, 2026
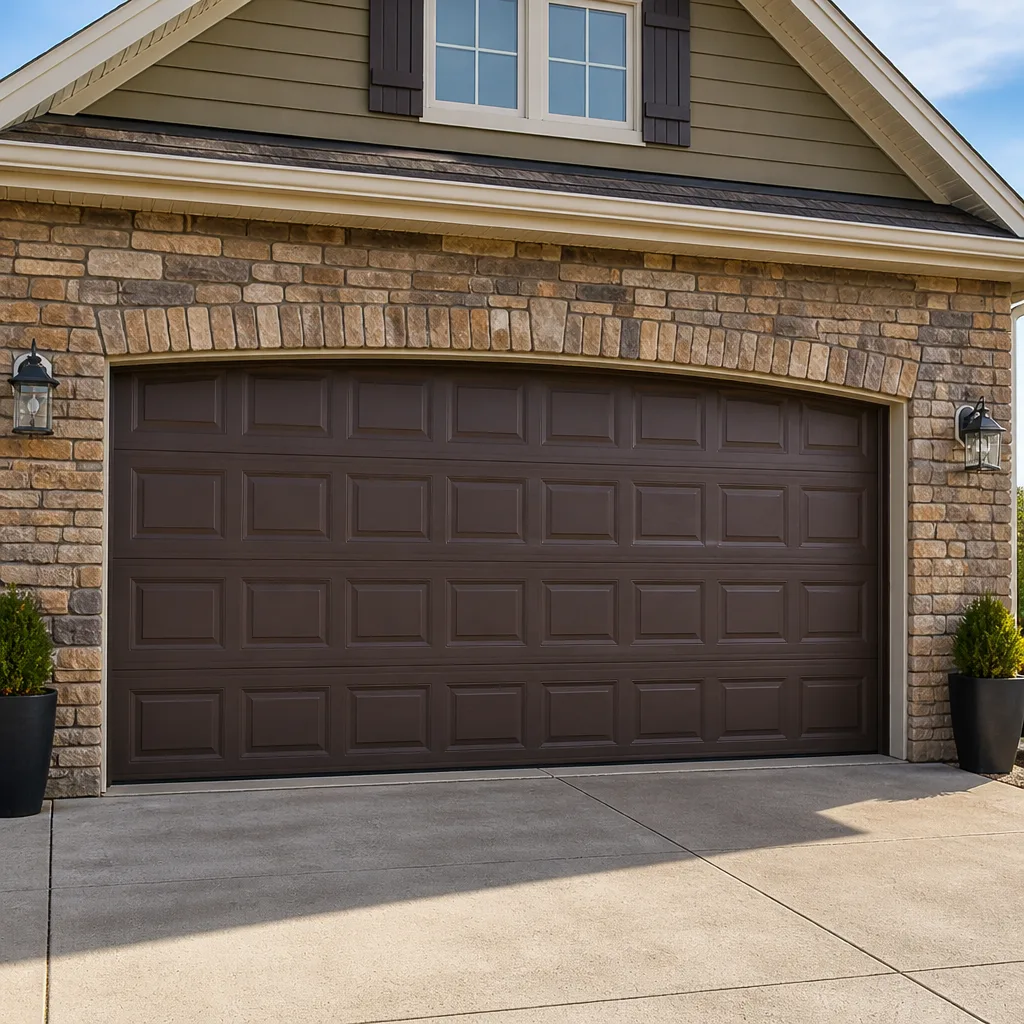 Raised-panel steel
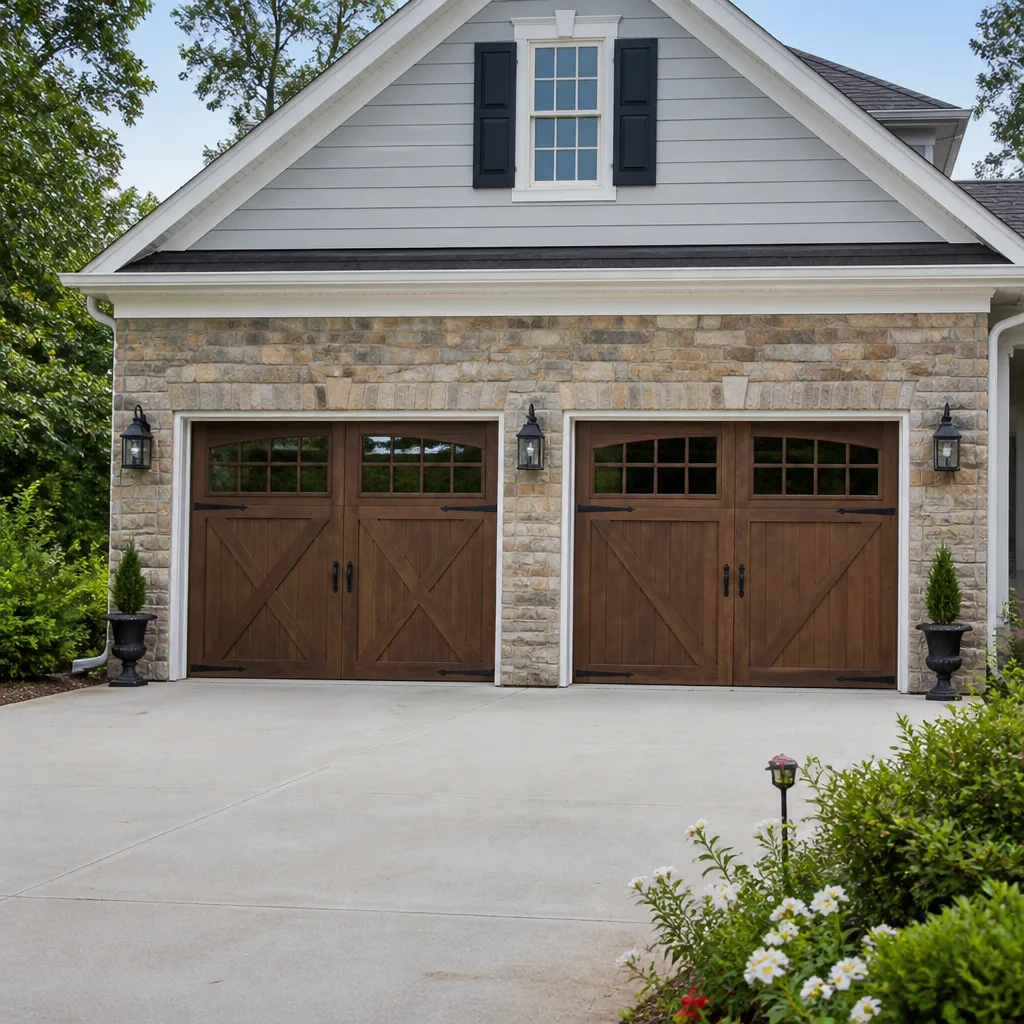 Carriage house
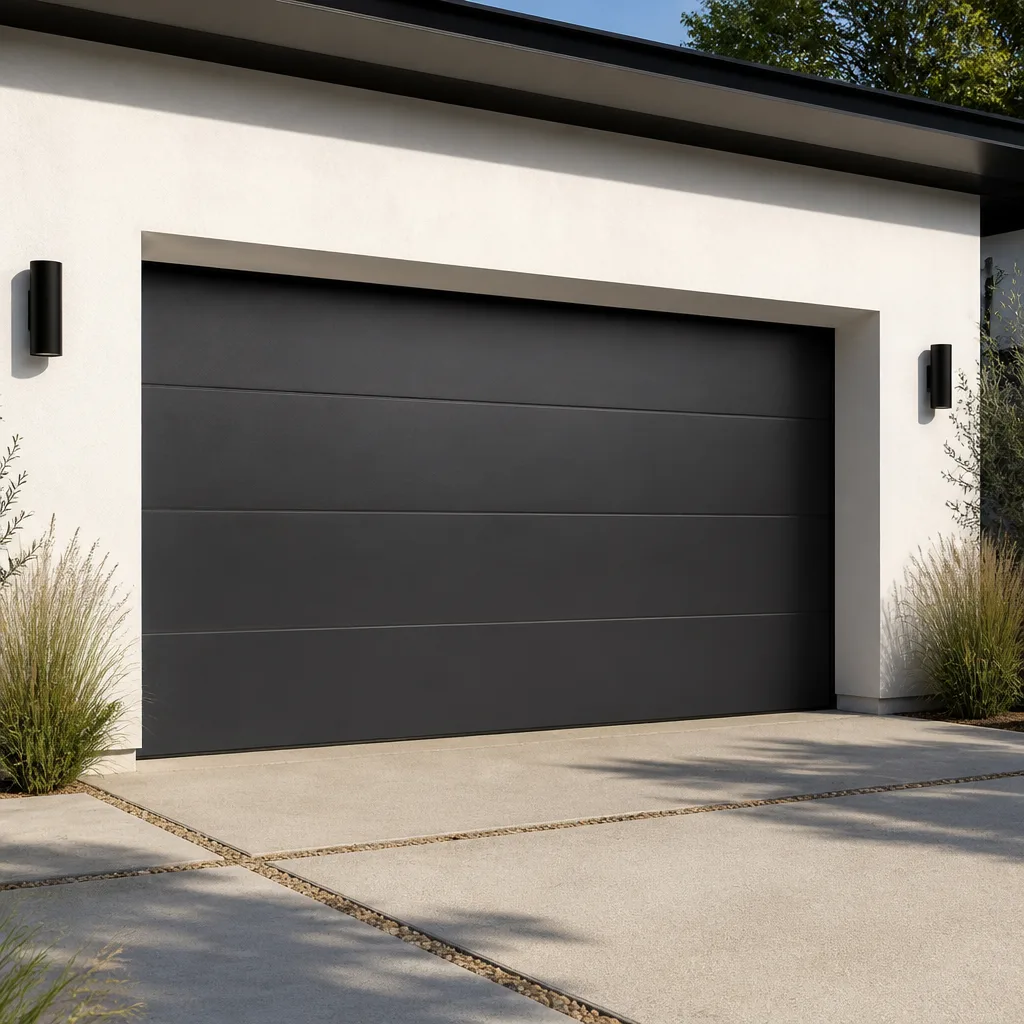 Modern flush
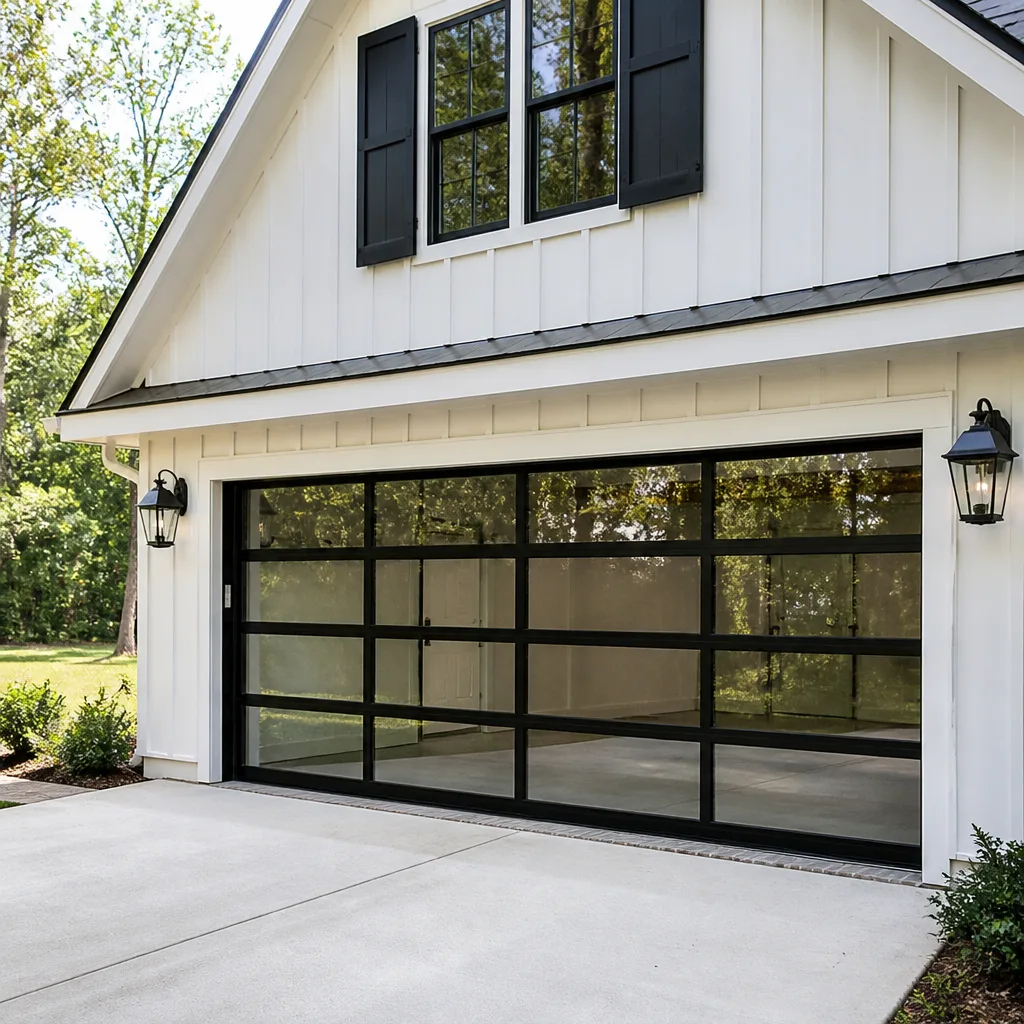 Full-view glass
 LiftMaster openers
 Chamberlain openers
Full 25-point door and opener safety check with every visit - springs, cables, rollers, tracks, and your LiftMaster or Chamberlain opener included
You get a price before we start. It does not change when the pro arrives.
Get your free estimateDIY vs Professional Garage Door: The Edison Homeowner’s Decision Guide
Torsion springs store enough energy to cause fatal injuries. That’s not a sales tactic, it’s physics. The spring above your garage door holds a load that, when it lets go, releases in a fraction of a second with a force that a wrench, a ladder, and a weekend of YouTube videos can’t teach you to manage. But here’s the counterintuitive part: most garage door maintenance is safe, sensible DIY work. The problem is that homeowners tend to treat the whole system as one decision. It isn’t. This guide sorts garage door jobs into three buckets: what you should handle yourself, what needs judgment, and what should never be DIY. By the end you’ll know exactly where the line sits for your door in Edison.
Quick Answer
If the task involves a torsion spring, a loaded cable drum, or anything under tension, hire a trained professional. If it’s weatherstripping, lubrication, or safety-sensor alignment, you can do it yourself with basic tools. Everything in between (panel replacement, track adjustment, opener work) depends on your door and your comfort level. Call (855) 658-5248 for a free estimate before you start a job that turns out to be harder than you expected. We answer 24/7. Fast dispatch from 7am to 7pm, Sunday through Friday.
Styles & brands we work with
- Raised-panel steel
- Carriage house
- Modern flush
- Full-view glass
- LiftMaster openers
- Chamberlain openers
Table of Contents
- The Decision Framework: Three Buckets, Not One Question
- Always Safe to DIY: Weatherstripping, Lubrication, Sensor Alignment
- Requires Judgment: Panel Replacement and Track Adjustment
- Never DIY: Torsion Springs and Loaded Cables
- The Real Cost of a DIY Spring Job Gone Wrong in Edison
- Which Opener Brands Have Homeowner-Friendly Installation
- Will a DIY Panel Replacement Match Your Existing Door?
- DIY Work and NJ Disclosure Rules When You Sell
- Common Mistakes to Avoid
- When to Call a Professional
- Frequently Asked Questions
- The Bottom Line
The Decision Framework: Three Buckets, Not One Question
Most DIY vs professional articles frame the question as skill: are you handy enough? That framing misses the point. A homeowner who’s remodeled a bathroom still shouldn’t be resetting a torsion spring, and a homeowner who’s never held a screwdriver can absolutely replace weatherstripping. Skill isn’t the variable. Risk is.
So we sort garage door tasks into three buckets instead:
- No stored energy risk, basic tools, forgiving of mistakes: do it yourself. Lubrication, weatherstripping, sensor alignment, visual inspection, the occasional wipe-down of the tracks.
- Requires judgment but not dangerous: doable if you’re patient and honest about your limits. Panel replacement, track adjustment, remote programming.
- Injury risk or structural risk: call a professional, without exception. Torsion springs, extension springs, cable replacement on loaded drums.
At Edison Garage Door Repair Co, we’d rather explain this clearly than tell every homeowner to call us for everything. Half of what we do is the dangerous half, and the other half is work that pays for itself in time saved anyway. Sending a trained technician for a weatherstripping job wouldn’t serve anyone. Sending a homeowner to the ceiling with a winding bar would be irresponsible. That’s the actual dividing line.
One more thing to add to the framework: your door’s age and system type. A newer door with a well-labeled opener (LiftMaster and Chamberlain are common in Edison homes) is easier to work on because parts are identifiable and manuals are findable. A 20-year-old door with a discontinued Wayne Dalton or Raynor system can turn a five-minute job into a scavenger hunt. Part availability is sometimes the deciding factor, even when the task itself is low-risk.
Always Safe to DIY: Weatherstripping, Lubrication, Sensor Alignment
This is the bucket we actively encourage. These are the tasks that keep a door running smoothly, keep it quieter, and delay the visit that eventually you will need. None of them involve stored energy. All of them are reversible if you get something wrong. If your only garage door issue is one of these three, you don’t need a technician.
Lubrication
Once or twice a year, wipe the tracks clean and apply a garage-door-specific lubricant (not WD-40, not motor oil, not cooking spray) to the rollers, hinges, and springs. Plenty of homeowner tutorials get this right. The only thing worth adding: on torsion springs, spray the coils lightly while the door is fully closed and at rest, never while it’s opening or mid-travel.
Weatherstripping
The rubber or vinyl seal along the bottom of the door and on the sides. If your door lets light or air through the edges, or if the bottom seal is cracked and stiff, replacing it is a genuinely simple job. In Edison, the seasonal temperature swing between a humid summer and a cold winter hardens rubber faster than in more stable climates, so a bottom seal can be a yearly or every-other-year replacement for some homeowners. That’s normal wear, not a defect.
Safety Sensor Alignment
The two small eyes at the bottom of the door frame. If the door reverses on its way down without a good reason, the sensors are usually misaligned or blocked. Wipe the lenses, check that both LEDs are lit, and nudge the brackets until they line up. Ten-minute job, no risk. Just make sure you don’t accidentally unplug the sensor wires while fussing with the brackets.
Visual Inspection
Look at the springs, cables, and rollers with the door closed and the opener disconnected or off. If you see a visibly broken spring, a frayed cable, or a roller with a flat spot, that’s the next section of this guide, not this one.
Requires Judgment: Panel Replacement and Track Adjustment
The middle bucket is where homeowners most often get themselves into trouble, not because they’re going to hurt themselves, but because they might not get the result they wanted. These jobs are physically safe but depend on matching parts correctly and understanding how the door’s geometry works.
Panel Replacement
A dented bottom panel is the single most common panel call we see. Replacing it can be done yourself if three things are true: the door is a current production model with parts still available, the door’s color hasn’t significantly weathered, and you’re comfortable lifting and aligning a metal panel that weighs more than you’d expect. On a Clopay, Amarr, or Wayne Dalton door that’s five or more years old, the color match question alone makes the DIY route risky. (More on that in a later section.)
Track Adjustment
Vertical tracks and horizontal tracks can develop a bend from a bump in the car or a sag from a loose bolt. Re-bending a track or replacing a section is technically within reach of a handy homeowner. Where it gets tricky is alignment: if the tracks are even slightly out of parallel, the door will bind, rub, or pop off a roller. If you’re not sure you can make a door move smoothly on a fresh set, leave it to a technician who does this routinely.
Opener Remote and Keypad Programming
Programming a new remote or keypad is genuinely easy on most modern systems and often covered by a manual. We’d rather homeowners do this than pay for a call. If your opener is an older Craftsman or Genie unit and you can’t find the pairing instructions for your exact model, that’s a case where a quick conversation with us saves you an hour of guessing.
Never DIY: Torsion Springs and Loaded Cables
This is the section we’d rather you read twice. If your door has a broken torsion spring, a snapped cable, or a drum that’s come off its shaft, the correct DIY action is to stop and call a trained technician. Not because we’re trying to protect a revenue stream, but because the injury record on these jobs is real and the mechanics are unforgiving.
Why Torsion Springs Are Dangerous
A torsion spring on a typical residential door is wound to several hundred pounds of counterbalancing force. It’s held in place by two winding bars seated in the spring’s cone. The bars are the only thing between that stored energy and whoever is holding them. If a bar slips out of its seat, or if the wrong bar is used, or if the spring is wound without the door being in the correct position first, the release is immediate. There’s no partial step and no warning.
Extension springs, common on older doors, have their own danger: if they break, they whip. That’s why modern extension spring setups include a safety containment cable running through the center of the spring. If your older door lacks one, that’s a legitimate reason to have a technician look at it, not a task to handle yourself.
Why Loaded Cables Are Equally Serious
The cables on either side of the door carry the same spring tension. A cable that’s off its drum under load can recoil with force. If your cable is frayed, sagging, or has come off the drum, do not try to reseat it yourself while the spring is wound. The correct sequence is to have the springs de-tensioned first, and that step belongs to a technician.
Our technicians have up to 9 years of experience, and torsion spring work is one of the most common calls we handle. Every spring replacement we do is a full-system check: spring tension, cable condition, roller wear, drum alignment. If a broken spring is what you’re facing, our garage door spring repair team can have you back up and running today. Call (855) 658-5248 for a free estimate. We answer 24/7. Fast dispatch from 7am to 7pm, Sunday through Friday.
The Real Cost of a DIY Spring Job Gone Wrong in Edison
We’re going to be careful here, because we don’t want to invent numbers. The honest answer to “what does a DIY spring job gone wrong actually cost” is: it depends, and it’s almost always more than the professional repair would have been. The categories are predictable, though.
Here’s what a serious spring-related injury or a botched DIY attempt typically involves:
- Emergency room visit. Hand, wrist, and facial injuries from a released spring are the most common. ER costs vary enormously depending on insurance, but even with coverage a serious hand injury can mean out-of-pocket costs in the hundreds to low thousands plus lost work time.
- Door damage beyond the spring. A dropped or improperly wound door can bend a track, crack a panel, or warp a drum. Each of those is a separate repair that wouldn’t have happened.
- Opener damage. A door that fails mid-travel while the opener is engaged can strip the opener’s drive gear or burn out the motor. That’s a second system needing repair.
- The professional repair you needed anyway. This is the one that stings. Homeowners who call us after a DIY attempt don’t save the repair cost, they add the ER visit and the door damage on top of it.
For a straightforward professional spring replacement, our written estimate sets the price and you approve it before any work starts. For a botched DIY attempt plus door repair plus a possible opener repair, the number is always higher. That’s the cost-benefit math this decision comes down to, and it’s genuinely lopsided once you account for the injury risk.
Which Opener Brands Have Homeowner-Friendly Installation
If you’re installing a new opener or replacing a dead one, brand matters more than most homeowners realize. Some openers are genuinely friendly to a confident DIY installer. Others are not, and the difference isn’t marketing, it’s how the unit is mounted, wired, and paired.
Chamberlain and LiftMaster
These two are, in our experience, the most homeowner-friendly systems to install. They share a common heritage and a similar mounting approach, and their manuals are thorough. If you’re replacing a Chamberlain with a Chamberlain, or a LiftMaster with a LiftMaster, the existing bracket and rail usually line up cleanly. Pairing a new remote is straightforward. The one part of installation that still isn’t DIY-friendly is the safety sensor wiring run down to the bottom of the door frame, which needs to be routed and stapled neatly to avoid future failures.
Genie
Genie openers are also manageable, though the rail assembly design differs from Chamberlain/LiftMaster in ways that surprise homeowners who’ve installed the other brand. If you’ve done one Genie install, you can do another. If this is your first opener install and you don’t enjoy reading a manual, this is where the DIY math starts to lean toward a technician.
Older Craftsman and Raynor Systems
Here’s the honest answer: older Craftsman and Raynor openers often confuse DIY efforts because replacement parts and clear compatibility charts aren’t always easy to find. If you’re replacing an old Craftsman with a modern system, the wiring and force-limit adjustment steps can be more exacting than a newer install. Our garage door opener repair team works on all four of these brands routinely, so we can diagnose the issue fast and source the correct part the first visit.
A specific caution: opener installation involves 120-volt wiring. If your existing opener’s electrical connection needs modification, or if the outlet isn’t in place, this is electrical work, not garage door work. Please don’t take that part of the job on yourself. Ask a licensed electrician to handle any new wiring.
See the difference
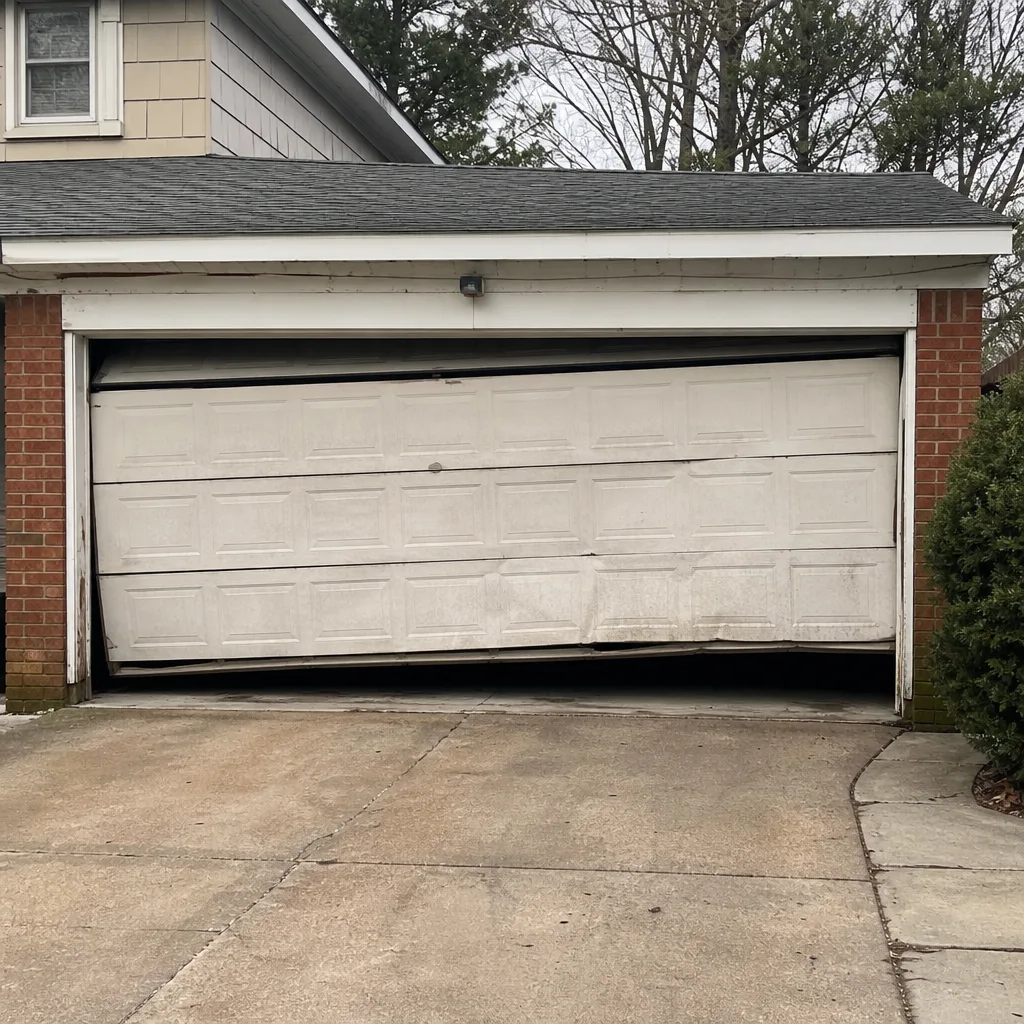 Before
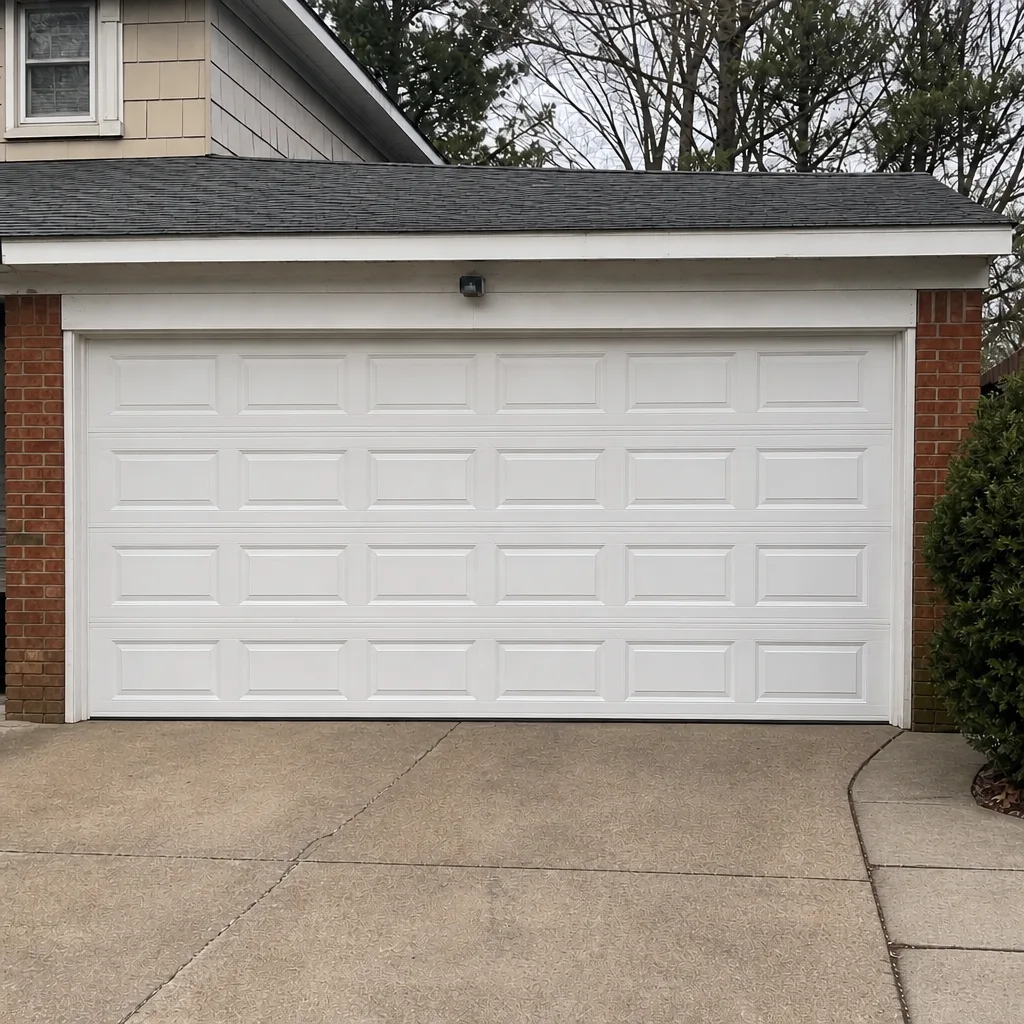 After
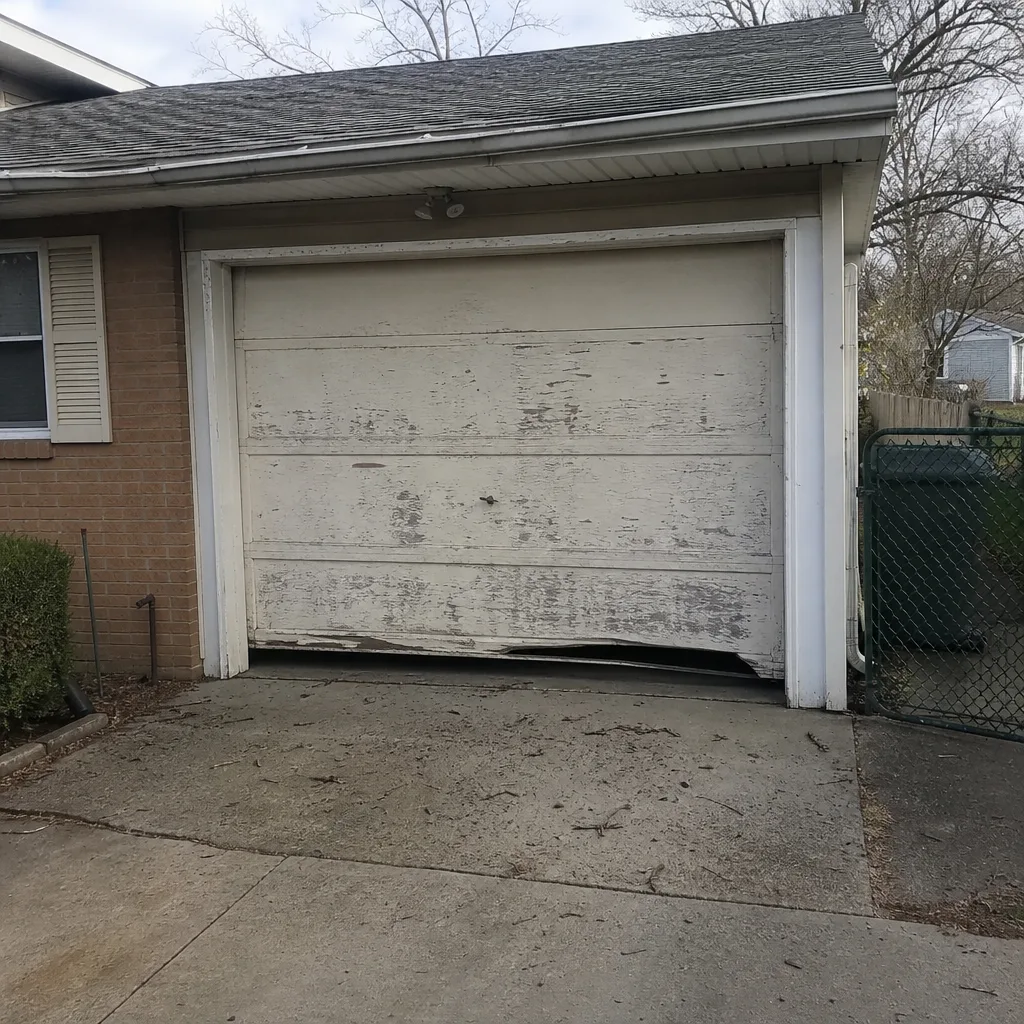 Before
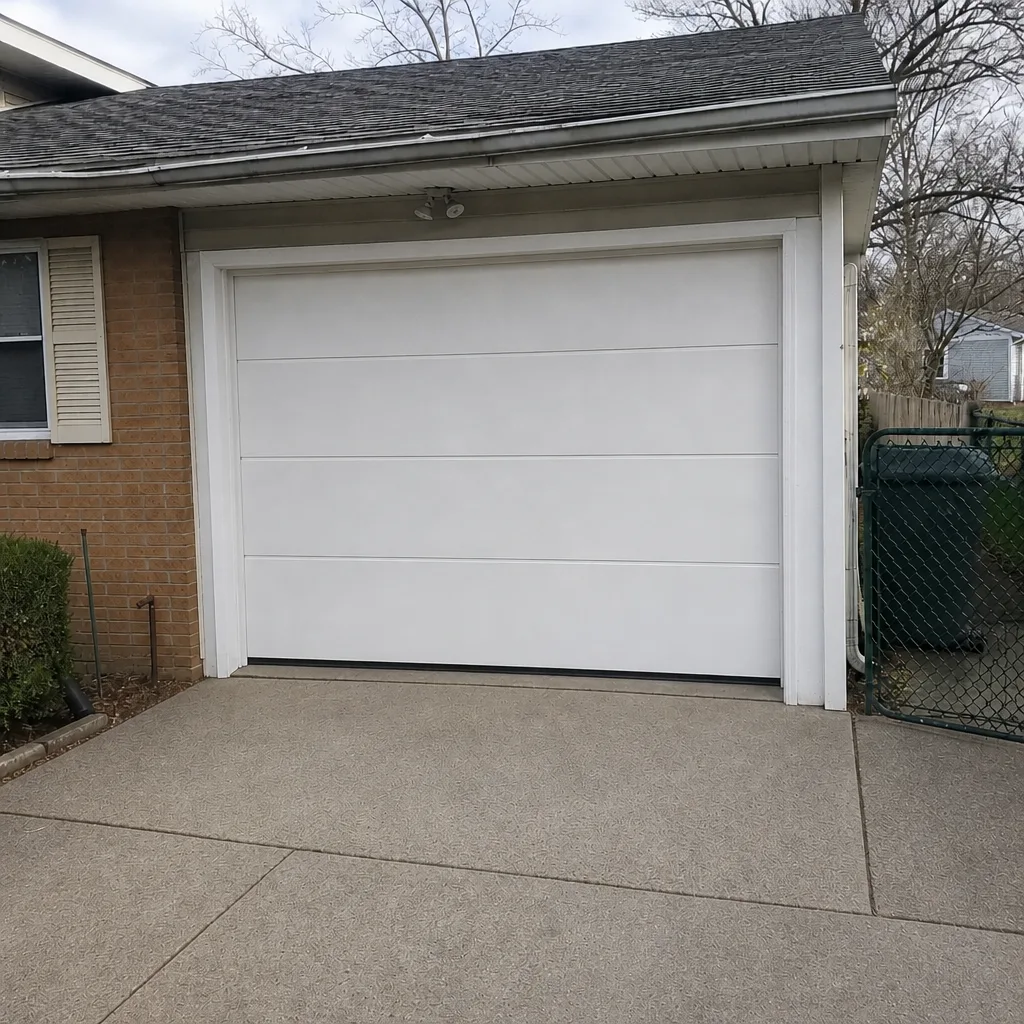 After
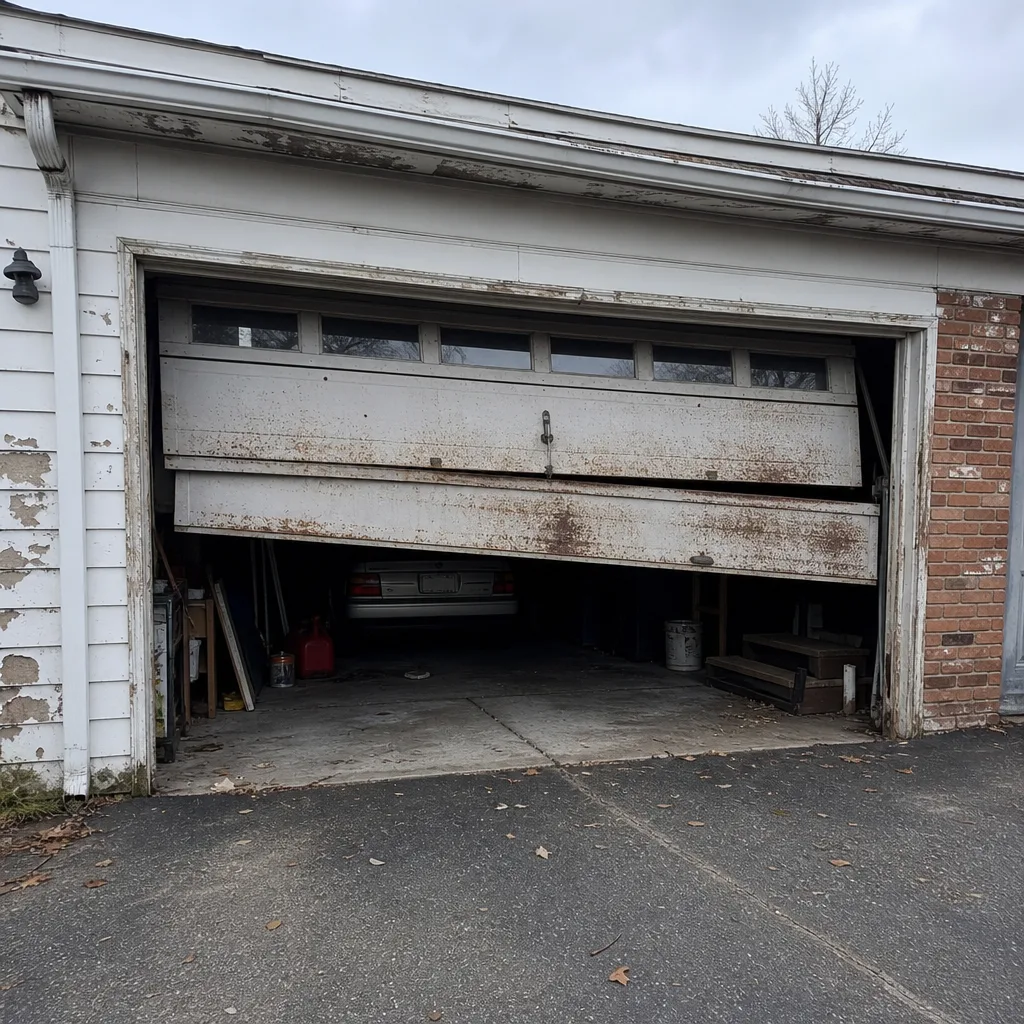 Before
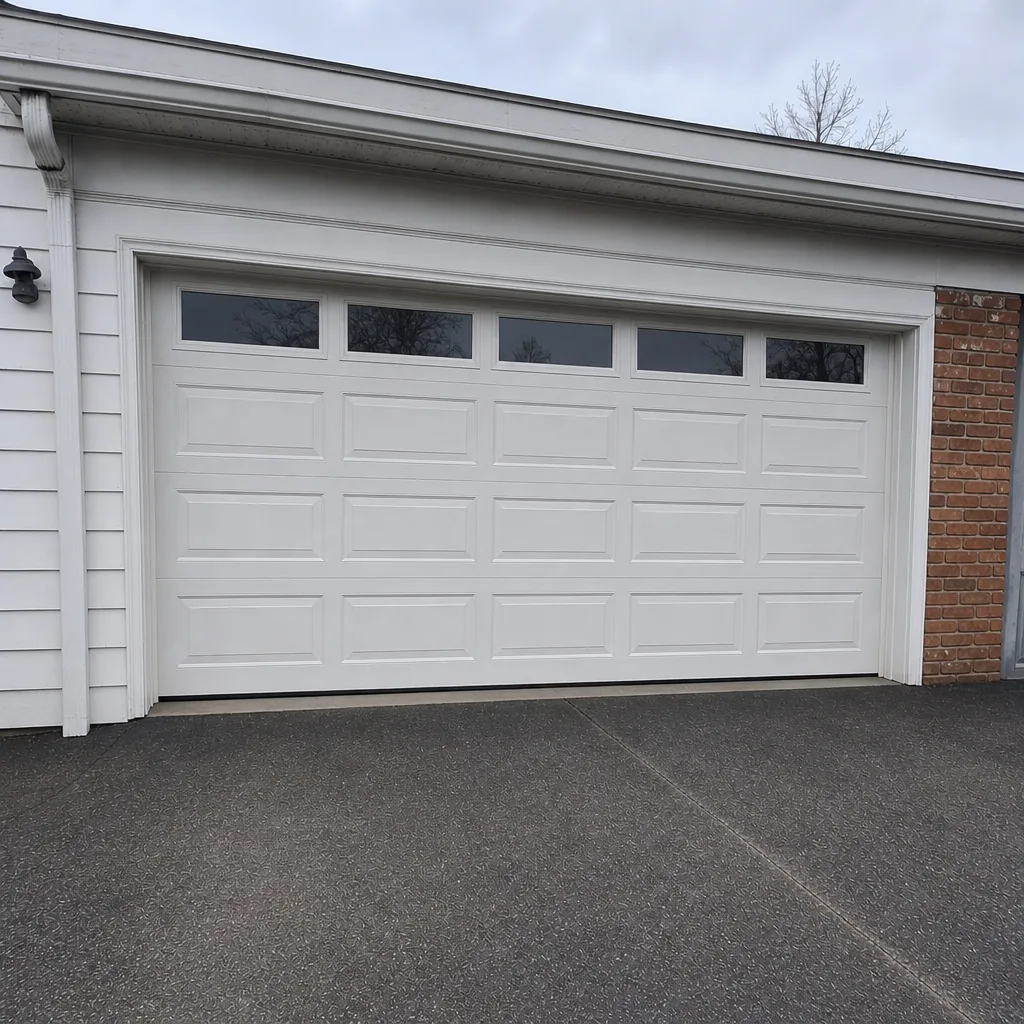 After
Will a DIY Panel Replacement Match Your Existing Door?
Color matching a replacement panel to an existing garage door is one of the most common reasons a DIY panel job disappoints. The new panel is a different paint batch from the original, and your existing door has spent years in Edison weather: summer humidity, winter cold, and UV exposure. Even a brand-new panel in the same stated color from the same manufacturer won’t necessarily match the original door on day one.
Here’s the realistic assessment checklist before you order a replacement panel:
- Is your door still a current production model? If the model year is old enough that the manufacturer has discontinued that panel, you’ll need a universal replacement, which never matches perfectly.
- Is the existing color still standard? Some manufacturers change their color lineups every few years. If your color isn’t in the current catalog, the match is a guess.
- How much has the existing door weathered? A door that’s seven or more years old has probably shifted from its original factory color. A new panel in the “same color” will read slightly different.
- Are you replacing one panel or several? Replacing a full door face brings the whole set into a consistent color. Replacing one panel against weathered panels is where mismatches are most visible.
If the answer to any of these makes you uncomfortable, the practical alternative is to have a technician asses the door in person before you order. Sometimes the answer is a color-match compromise that’s barely visible from the street. Sometimes it’s a full door. There are no guarantees until someone’s actually looked at the existing panel finish in daylight.
DIY Work and NJ Disclosure Rules When You Sell
This is the section most DIY guides don’t cover, and it’s worth knowing if you’re planning to sell your home within the next few years. New Jersey requires sellers to disclose known material defects to buyers on a standard disclosure form. The key word is “known.” If you did DIY work on your garage door and you know it’s not performing correctly, that’s a known defect, and whether you technically disclosed it or not, a buyer’s inspector will find it.
What that means in practice:
- A DIY spring replacement that went in without the correct winding is a safety hazard that a home inspector will flag. You can’t reasonably withhold that.
- A DIY opener install that skipped the safety sensor reversal test is a functional defect the inspector will test. If the door fails the reversal test, that becomes an item on the buyer’s repair list.
- A DIY panel replacement that doesn’t match is a cosmetic disclosure issue. It’s not a structural hazard, but a buyer can ask you to remedy it or credit the cost.
- Electrical work (new outlet for an opener, for example) done without a permit can complicate a sale. If a permit was required for the work, most towns in Edison’s area will want to see it closed out before the home changes hands.
None of this is meant to discourage DIY work on the safe bucket of tasks. Weatherstripping and lubrication don’t trigger disclosure issues. But the more involved jobs, if you’re going to do them yourself, are worth doing correctly and documenting. Or, if the door’s already at the end of its service life, replacing it professionally with a fresh install often has better resale value than trying to patch a failing system before listing.
Common Mistakes to Avoid
- Using the wrong lubricant on the tracks. WD-40 and motor oil attract dust and gum up the rollers. Garage door lubricant is formulated for the friction surfaces; anything else shortens roller life. This one mistake undoes an otherwise perfect DIY lubrication job.
- Winding a torsion spring without a second bar seated first. This is the single most common and most dangerous DIY spring mistake. If you don’t have two winding bars, you’re not ready for the job, and there is no workaround.
- Assuming a new panel will match. Two different paint batches plus a few summers of UV exposure in Edison means a new panel against an older door is rarely a perfect match. Order the panel first and hold it up to the door in daylight before installing.
- Skipping the safety reversal test after an opener install. Place a 2×4 flat on the ground under the door and command it to close. If the door doesn’t reverse, the sensor or force limit isn’t set correctly. This test is non-negotiable after any opener work.
- Adjusting the force limit to “fix” a stiff door. Turning up the opener force doesn’t fix a binding track or a worn roller; it hides the problem and puts more stress on the opener motor. The correct fix is the mechanical one.
- Ignoring frayed cables because the door “still works.” A frayed cable on a loaded drum is a broken cable waiting to happen. It’s not a “wait and see” item. Have it assessed.
- Removing a safety containment cable from extension springs. Some older doors have them, some don’t. If your door has one, don’t remove it during maintenance. If your door doesn’t, that’s a reason to have the setup reviewed.
When to Call a Professional
You should call a professional if any of the following is true: a torsion or extension spring is broken or worn; a cable is frayed, off its drum, or visibly damaged; the door won’t open or close and you can’t identify why; there’s a new noise (popping, grinding, snapping) that wasn’t there before; the door has come off its track; the opener doesn’t respond and you’ve confirmed the power and remote are fine; or the door is visibly sagging or out of square. Also call if you’ve started a job and realized halfway through that it’s more than you expected. Half-done is more dangerous than untouched, and there’s no shame in stopping. Our garage door repair team handles all of these, often same day. Edison Garage Door Repair Co offers free estimates in Edison. Call (855) 658-5248. We answer 24/7. Fast dispatch from 7am to 7pm, Sunday through Friday.
Frequently Asked Questions
No. Torsion spring replacement is the single highest-risk DIY task in the garage door category, and we recommend against it without exception. The spring stores enough energy to cause serious or fatal injury if the winding goes wrong, and there’s no partial failure mode: when it slips, it slips all the way. If your spring is broken, call (855) 658-5248. We answer 24/7. Fast dispatch from 7am to 7pm, Sunday through Friday.
Weatherstripping, lubrication, safety-sensor alignment, visual inspection, and remote or keypad programming are safe DIY tasks with no stored-energy risk. Panel replacement and track adjustment are safe but require judgment. Anything involving springs, cables, or the opener’s electrical connection is a professional call.
A DIY mistake involving a torsion spring typically ends up costing more than the professional repair would have, even before you factor in time lost or an ER visit. The written estimate sets the price on the professional side, so you know what you’re paying before any work starts. Honest comparison starts with a phone call: (855) 658-5248.
Yes, if the opener is a LiftMaster or Chamberlain replacing an existing unit of the same brand, and if the electrical outlet is already in place. Genie installs are doable but take longer to get comfortable with. If the electrical connection needs work, that part is a licensed electrician’s job. If the opening and closing safety reversals don’t check out after install, book a garage door opener repair visit.
For most repair and replacement work, a permit isn’t typically required, but electrical changes (like adding a new opener outlet) usually trigger one. Check with the Edison Township building department before you start a job that involves new wiring. When you book a technician through Edison Garage Door Repair Co, ask us and we’ll tell you what we typically see; the township’s call is the final word.
It can, if the mismatch is visible from the street. Buyers notice a garage door that’s been patched with a slightly different shade. A cleaner path is to have the door assessed before you order a panel, so you can confirm the color match or shift to a full face replacement. If you’re selling soon, our garage door repair team can take a look and tell you what’s realistic.
We work on LiftMaster, Chamberlain, Genie, Clopay, Amarr, Wayne Dalton, Craftsman, and Raynor. If your door or opener is one of these, we’re already familiar with the system in your garage. If it’s a different brand, ask us before booking so we can tell you honestly whether it’s within our wheelhouse.
Always call and ask. Same-day availability is often possible, and we’re the team that handles emergency garage door service when a broken spring or dead opener leaves a car trapped. Softer route: book the visit, then we’ll confirm timing. Call (855) 658-5248. We answer 24/7. Fast dispatch from 7am to 7pm, Sunday through Friday.
The Bottom Line
The DIY vs professional garage door question isn’t about your skill level; it’s about which jobs carry injury or structural risk. Handle the safe bucket yourself: weatherstripping, lubrication, sensor alignment, remote programming. Ask for judgment before panel or track work, and always hand off spring and cable replacement to a trained technician. In our experience with Edison homes, the cost-benefit math is decisively against DIY spring work: the repair you’ll need anyway is cheaper than the repair plus the ER visit plus the door damage. Precision over patchwork isn’t just a slogan here; it’s the cheapest path through most repairs.
If you’re deciding between a DIY project and a call, call. The estimate is free, the price is quoted and agreed before work starts, and the visit tells you which bucket you’re actually in. Call (855) 658-5248 for a free estimate. We answer 24/7. Fast dispatch from 7am to 7pm, Sunday through Friday.
Ready to book a repair, an opener fix, or a full install? Reach out to the team at Edison Garage Door Repair Co and we’ll walk you through next steps, whether that’s a same-day repair or a scheduled measure and quote for a new door. We answer 24/7. Fast dispatch from 7am to 7pm, Sunday through Friday.
Written by the team at Edison Garage Door Repair Co.